Apple provides over 2400 high-quality and highly configurable symbols integrated under the SF Symbols name and available for iOS 13 and macOS 11 and later. You can easily use them in your SwiftUI application to achieve a look consistent with other system applications.
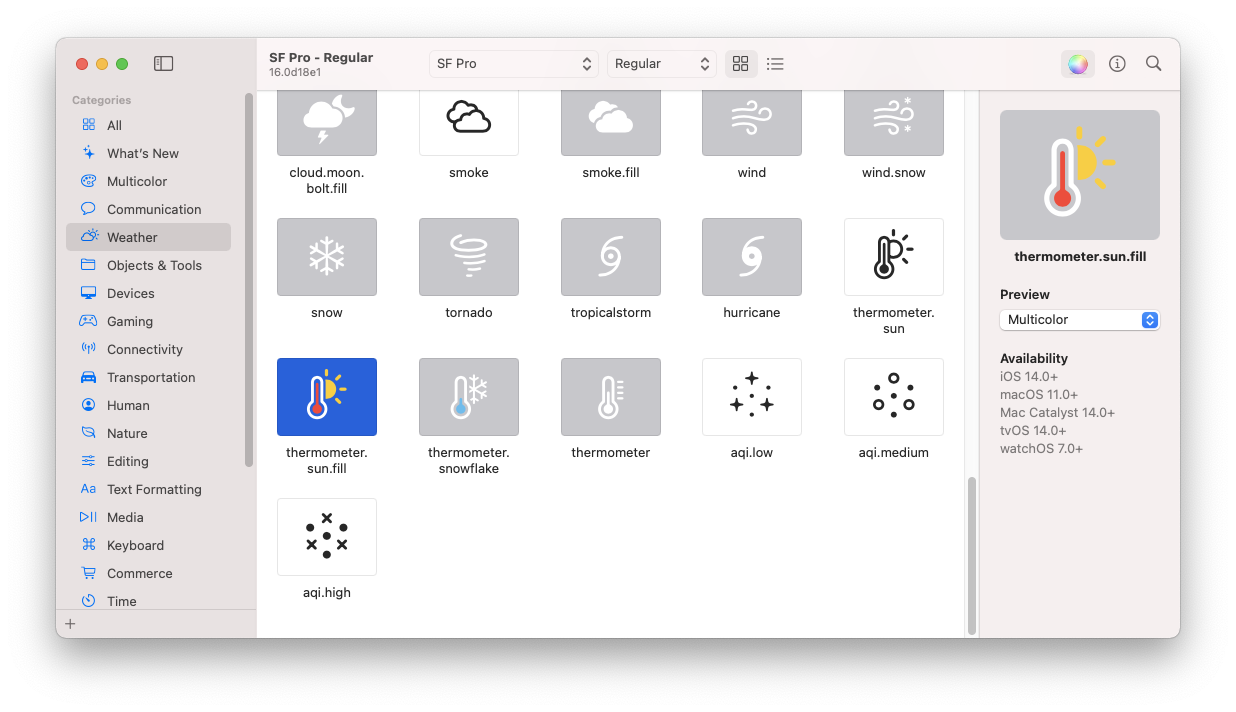
The 2020 update (SF Symbols 2) provides many additional symbols along with multiple color ones. They also give a useful application that simplifies searching. To use it, go to https://developer.apple.com/sf-symbols/ and download the latest version.
When you find a symbol that suits your needs, right-click on it and copy its name (or press shift+cmd+c). On the right, you can check the system version where a given graphic will be available. Remember to copy the symbol name, not the symbol itself. The latest will work only for people with the SF Symbols application installed (I learned about it the hard way).
Now, when you find a perfect symbol, you can display it using the Image view.
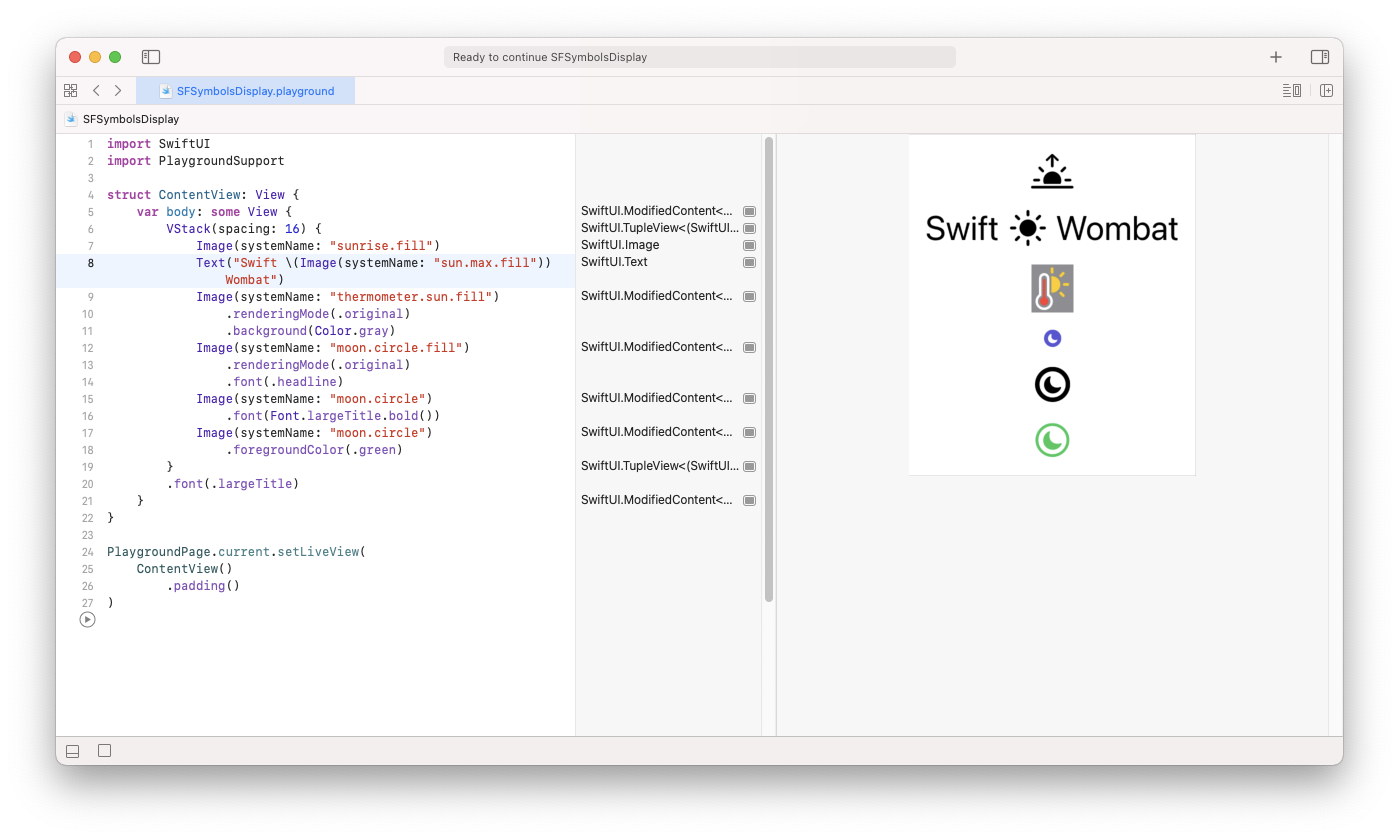
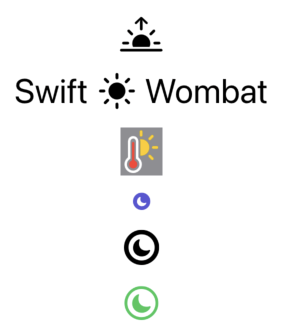
Image(systemName: "sunrise.fill")
The Image supports string interpolation, so if you want to put a symbol inside a text, you should still use the same view. Never put it directly inside Text.
Text("Swift \(Image(systemName: "sun.max.fill")) Wombat")
Swift string interpolation is a powerful tool. See how you can use it to display formatted dates in SwiftUI.
By default, Image has a renderingMode set to template. For multicolor icons, you have to change it to original.
Image(systemName: "moon.circle.fill")
    .renderingMode(.original)
SF Symbols works great with the San Francisco font. It supports font sizes and styles and fits perfectly to text baselines. You can control image size like you set it for Text using the font modifier.
Image(systemName: "moon.circle")
    .font(Font.largeTitle.bold())