List view is a container that can present a scrollable list of views in SwiftUI. You can adjust its look, and it supports versatile actions and change its style depending on the platform. This article will learn how to use the List to display navigation links, data from an array and use ForEach and Section to display multi-dimensional data structures.
Simple List
As always, SwiftUI creators made it easy to use API. You can display a basic List with only a few lines of code.
List {
    Text("Identifiable List")
    Text("Multi-Dimensional List")
    Text("Inset Grouped List Style")
}
Additionally, wrapping your items in List instead of VStack will make them scrollable. So, if there are more items that fit on the screen, they will still be accessible to users.
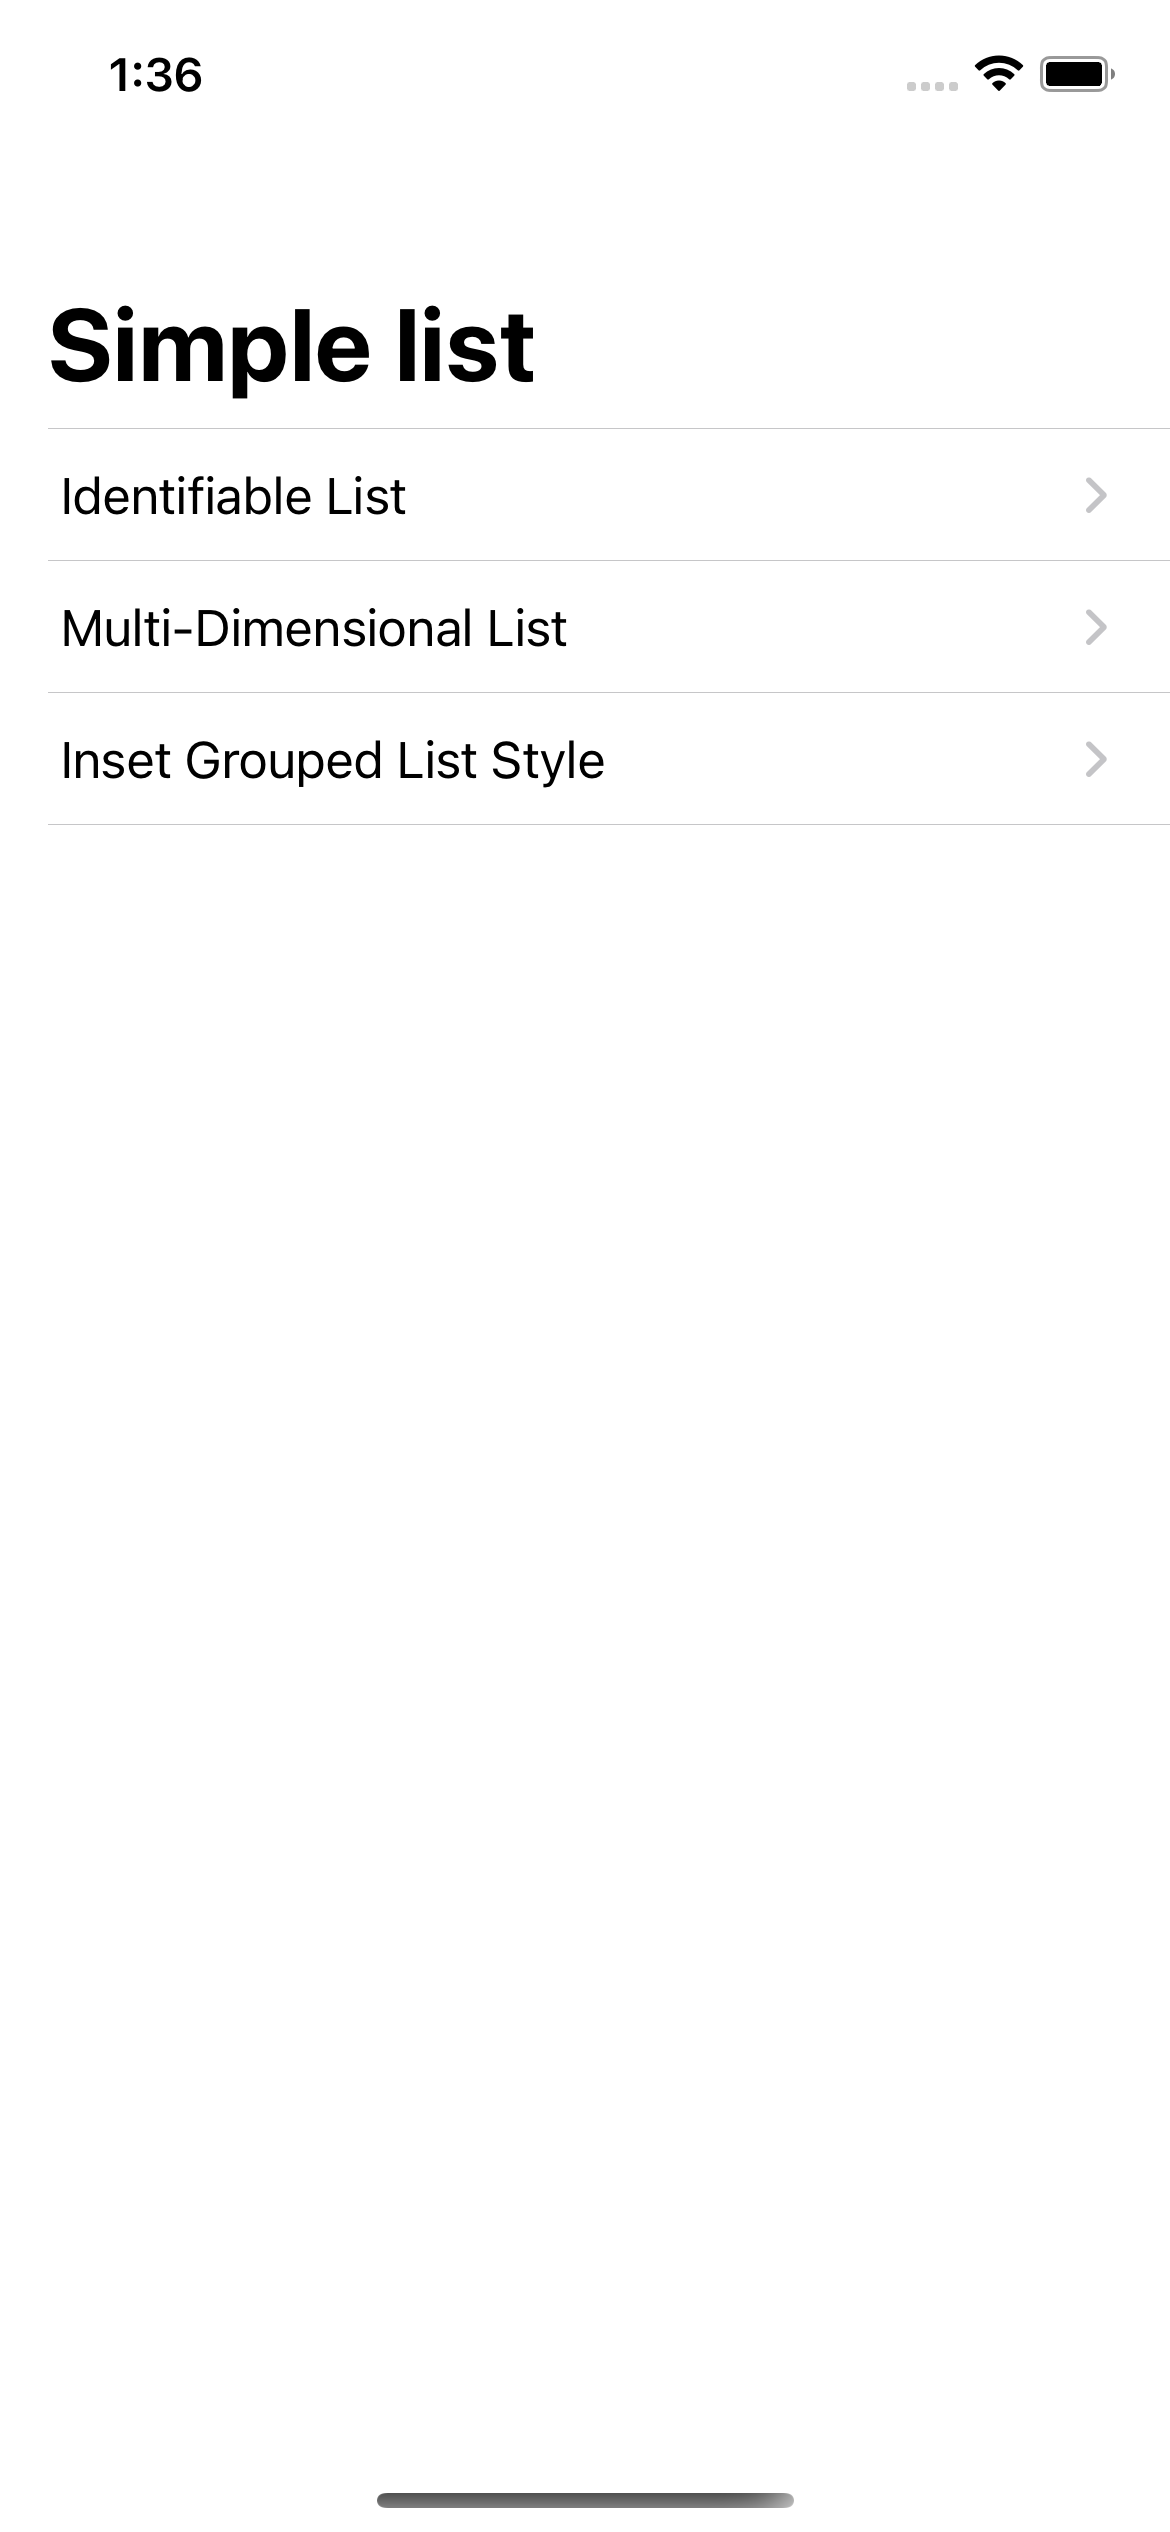
You can use the List view to build the app navigation. When you wrap your Texts (or any other View) in NavigationLink, they will get an additional details arrow and, together with NavigationView, will handle switching between screens.
NavigationView {
    List {
        NavigationLink(destination: IdentifiableList()) {
            Text("Identifiable List")
        }
        NavigationLink(
            destination: MultiDimensionalList()
                 .navigationTitle("Multi-Dimensional List")
        ) {
            Text("Multi-Dimensional List")
        }
        NavigationLink(
            destination: MultiDimensionalList()
                .listStyle(InsetGroupedListStyle())
                .navigationTitle("Inset Grouped Style")
        ) {
            Text("Inset Grouped List Style")
        }
    }
    .navigationTitle("Simple list")
}
Identifiable List
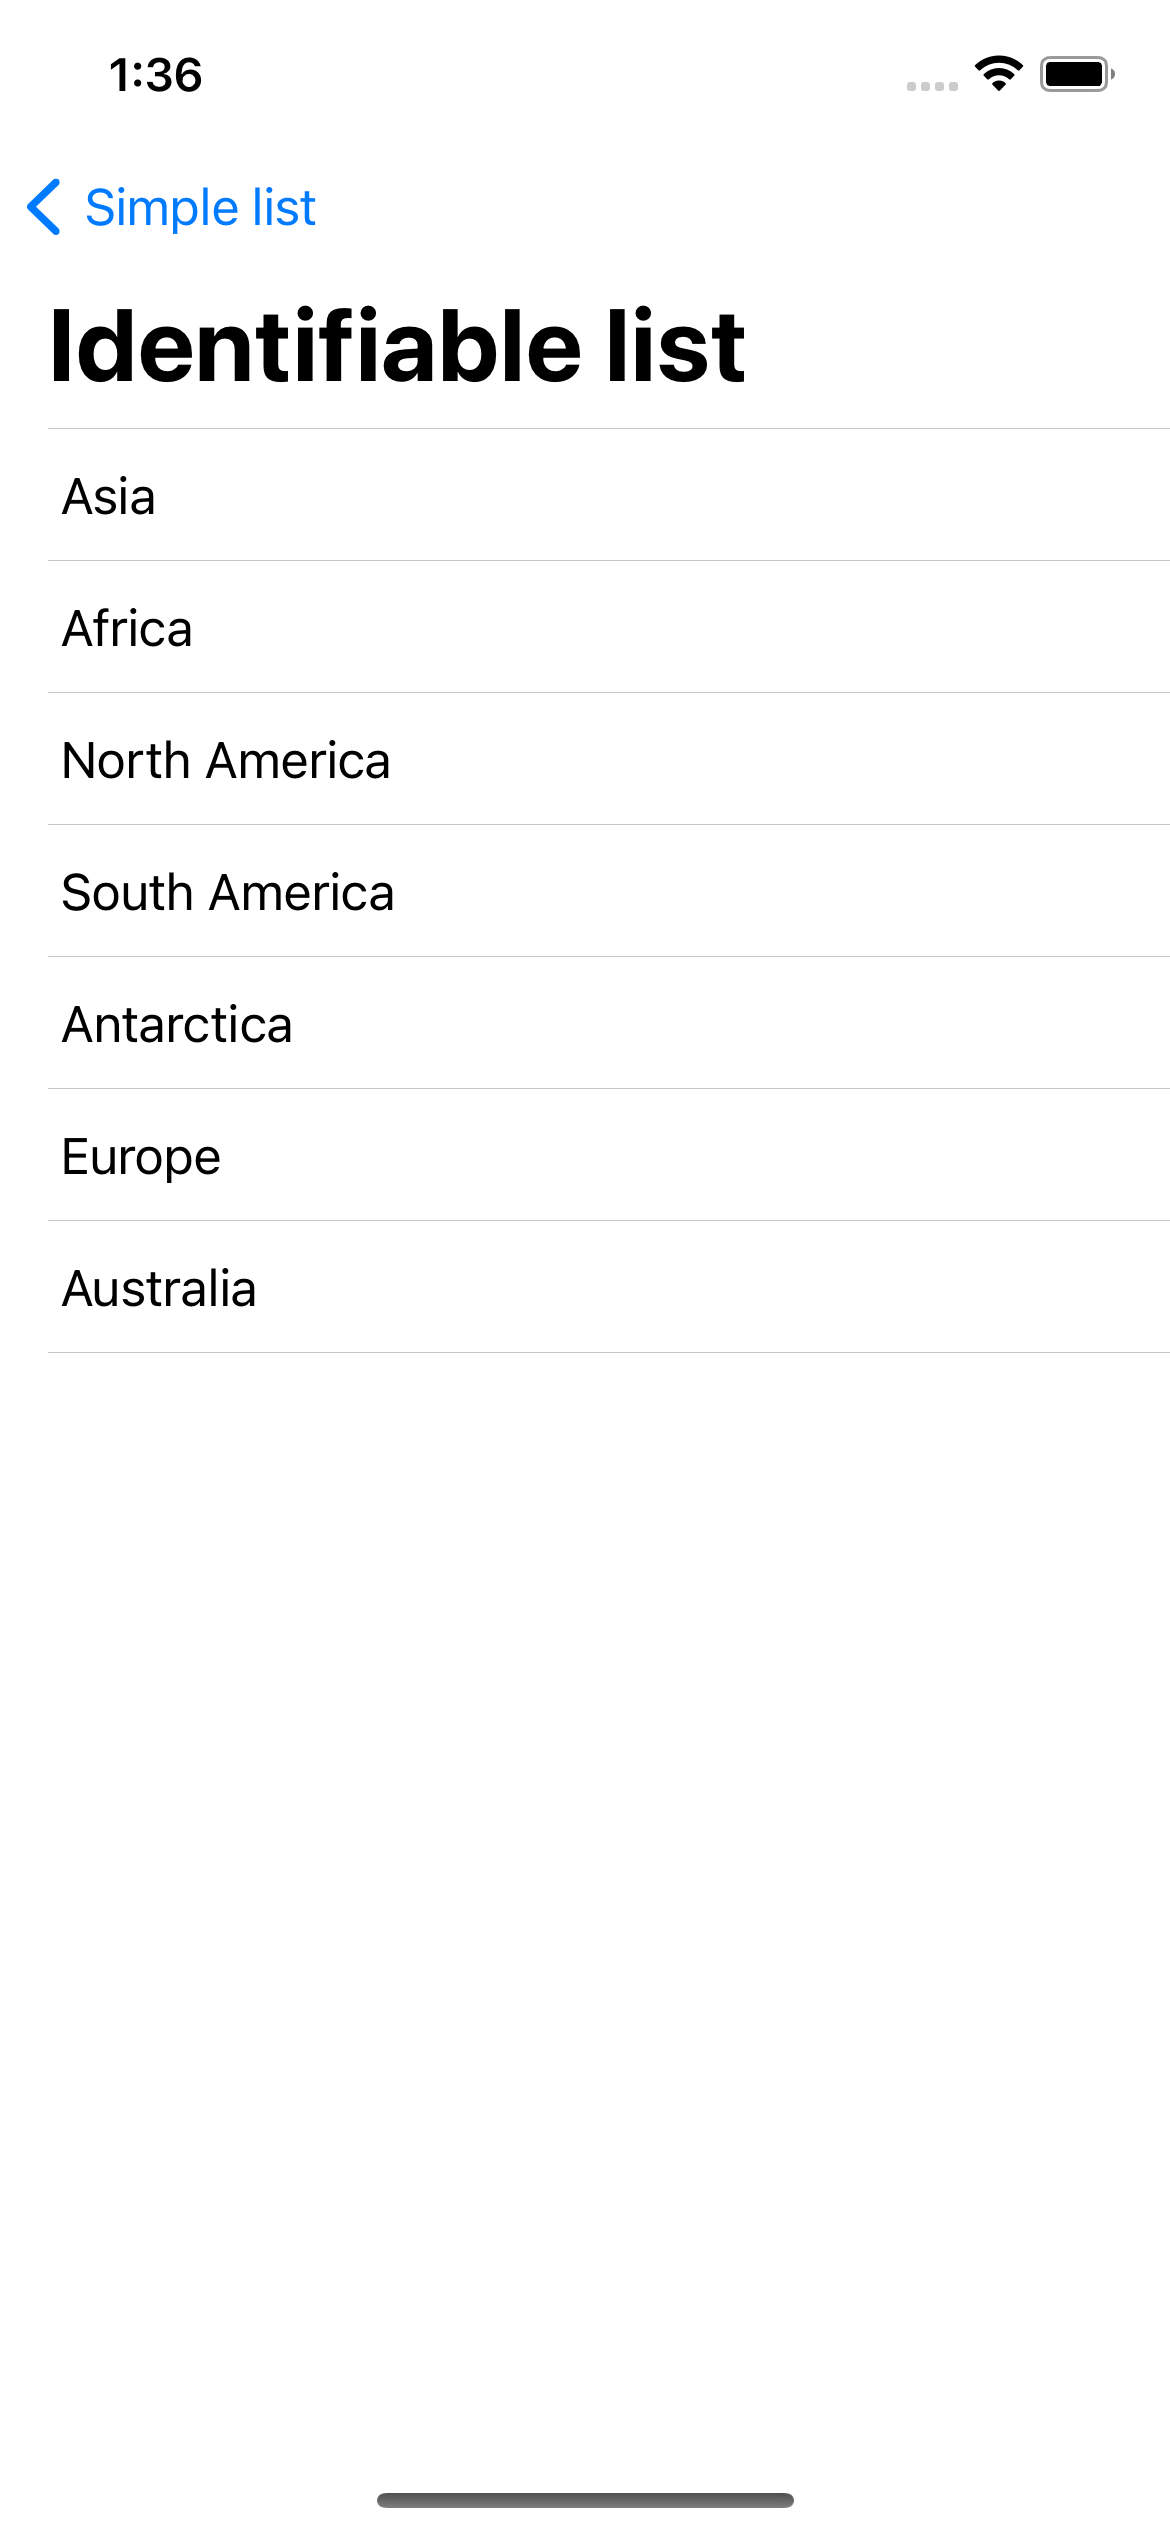
When using lists, you usually have an array of data. One of the List initializers can get that data and generates a list of items. It will handle rendering only visible entities at a given moment which is essential for application memory usage.
The data that you provide must conform to the Identifiable protocol. It’s straightforward to achieve. Your struct must have an id property that conforms to Hashable. String or UUID type is usually perfect for this.
struct Continent: Identifiable {
    let id: UUID = UUID()
    let name: String
}

private let continents = [
    Continent(name: "Asia"),
    Continent(name: "Africa"),
    Continent(name: "North America"),
    Continent(name: "South America"),
    Continent(name: "Antarctica"),
    Continent(name: "Europe"),
    Continent(name: "Australia")
]
With struct declared like the one above, you can easily display an array of structs with just three lines:
List(continents) {
    Text($0.name)
}
Multi-dimensional List
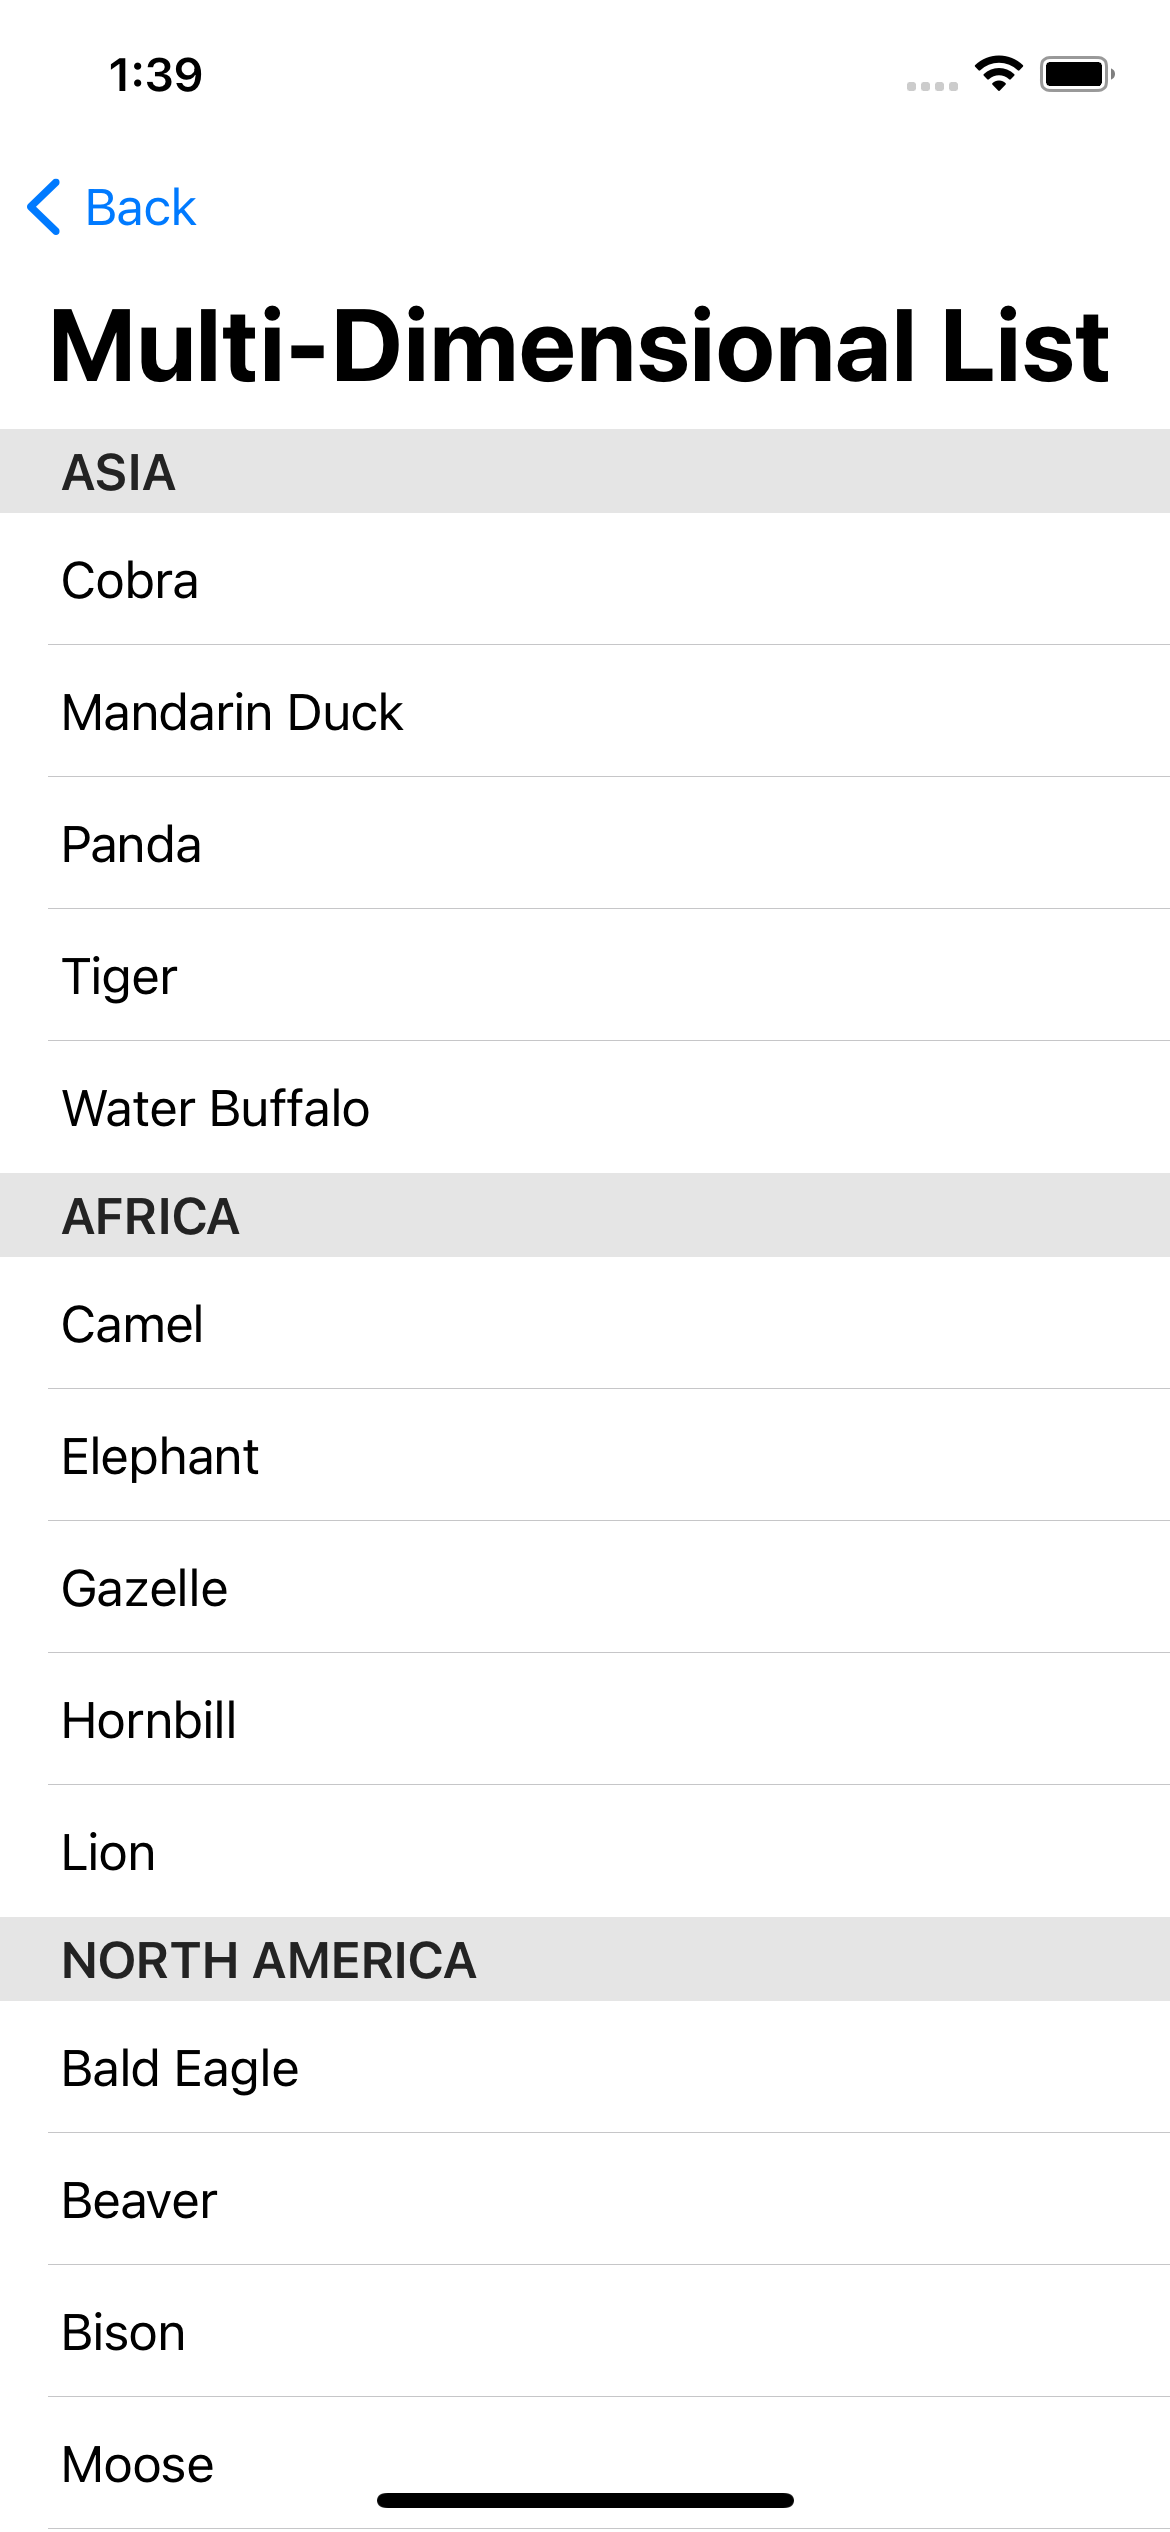
With the support of two other views - ForEach and Section you can create a stunning two-dimensional list. For this example, I added an array of animals to a Continent struct.
struct Continent: Identifiable {
    let id: UUID = UUID()
    let name: String
    let animals: [Animal]
}

struct Animal: Identifiable {
    let id: UUID = UUID()
    let name: String
}
When you build your example structure, what is only need to iterate over items. The Section view displays a header, and objects in each behave like normal list cells.
List {
    ForEach(continents) { continent in
        Section(header: Text(continent.name)) {
            ForEach(continent.animals) { animal in
                Text(animal.name)
            }
        }
    }
}
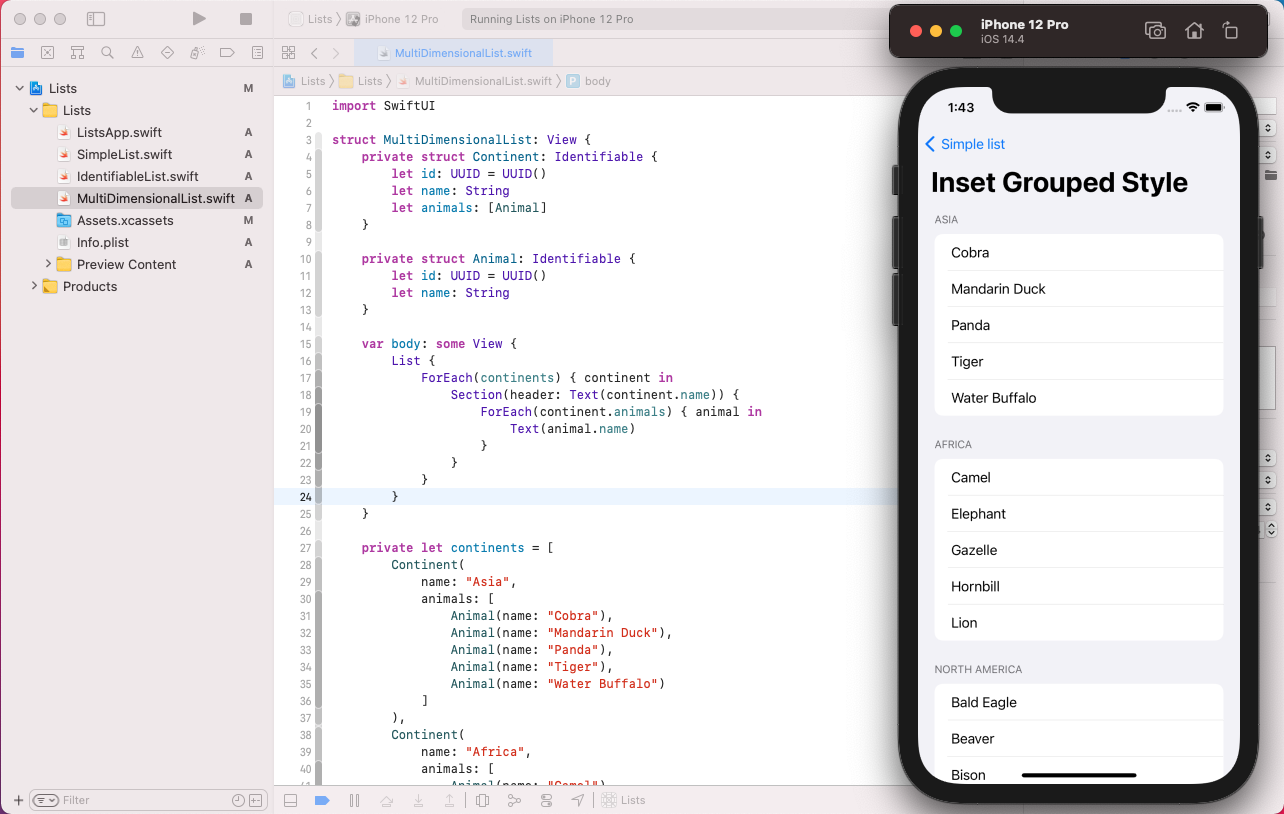
Inset Grouped List Style
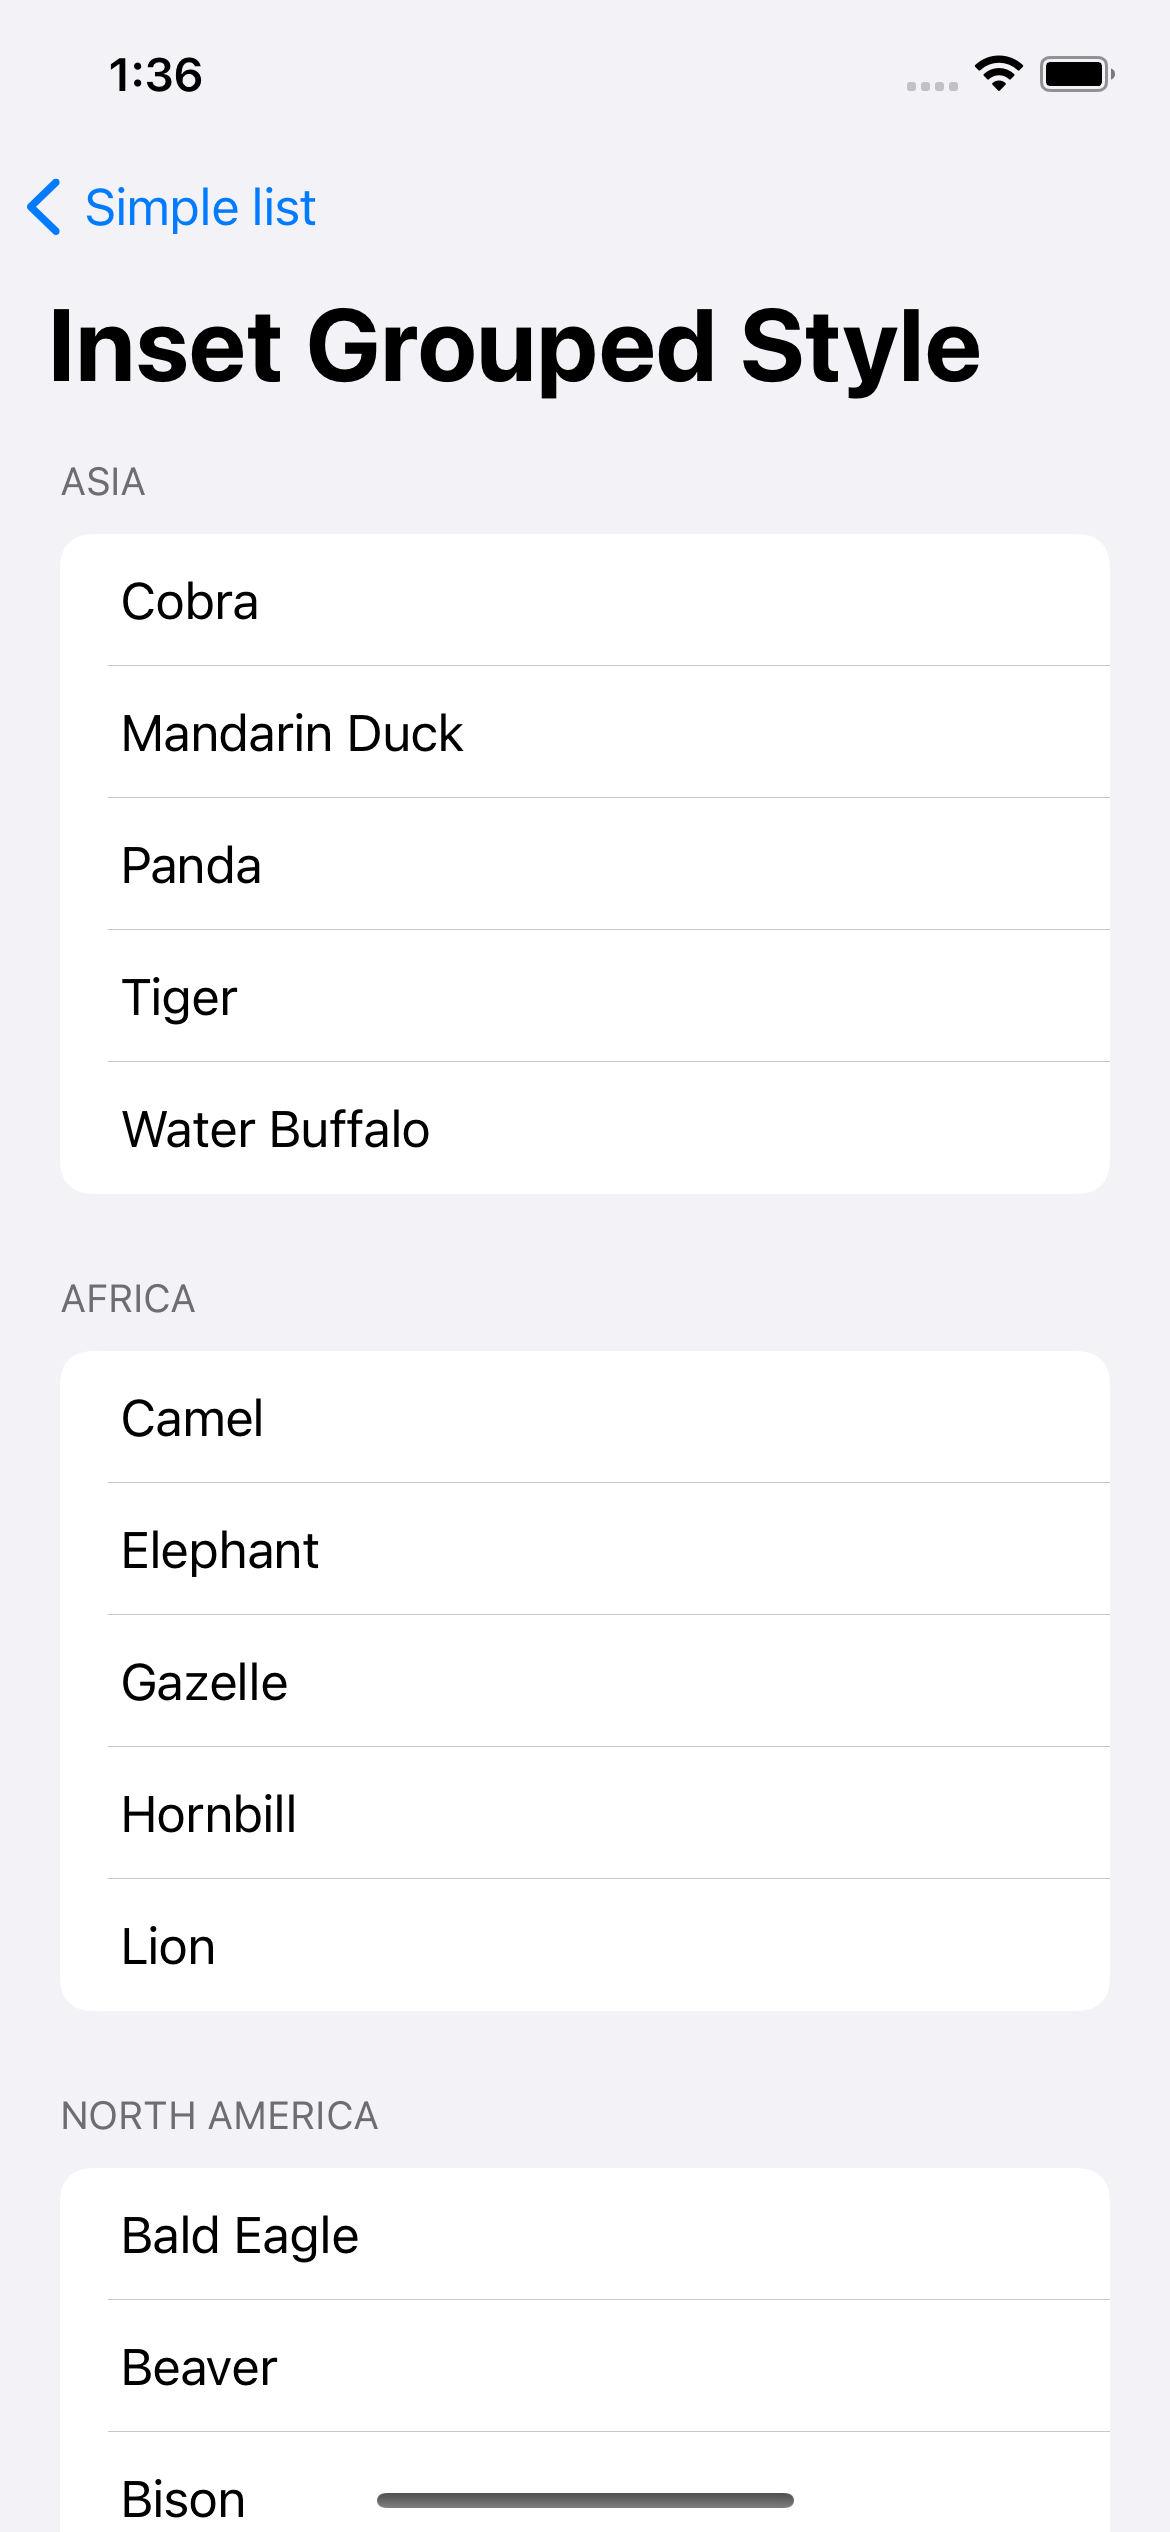
This article covers just an iceberg of list features, but I want to mention one more element that, with just one line, will take your design to the next level. I’m talking about the listStyle modifier. With one line:
.listStyle(InsetGroupedListStyle())
You may change a list from the previous section to the one visible at the start of this one.