A resizable modifier that you can apply to the SwiftUI Image can be useful not only for scaling or setting the aspect ratio of a given view. You can use it to scale small image files correctly and stretch only part of them. If you are familiar with Android resizable bitmaps (9-patch files) using the capInsets parameter, you can achieve a limited version of this functionality.
Learn how to use a resizable ViewModifier to scale and set the aspect ratio of images.

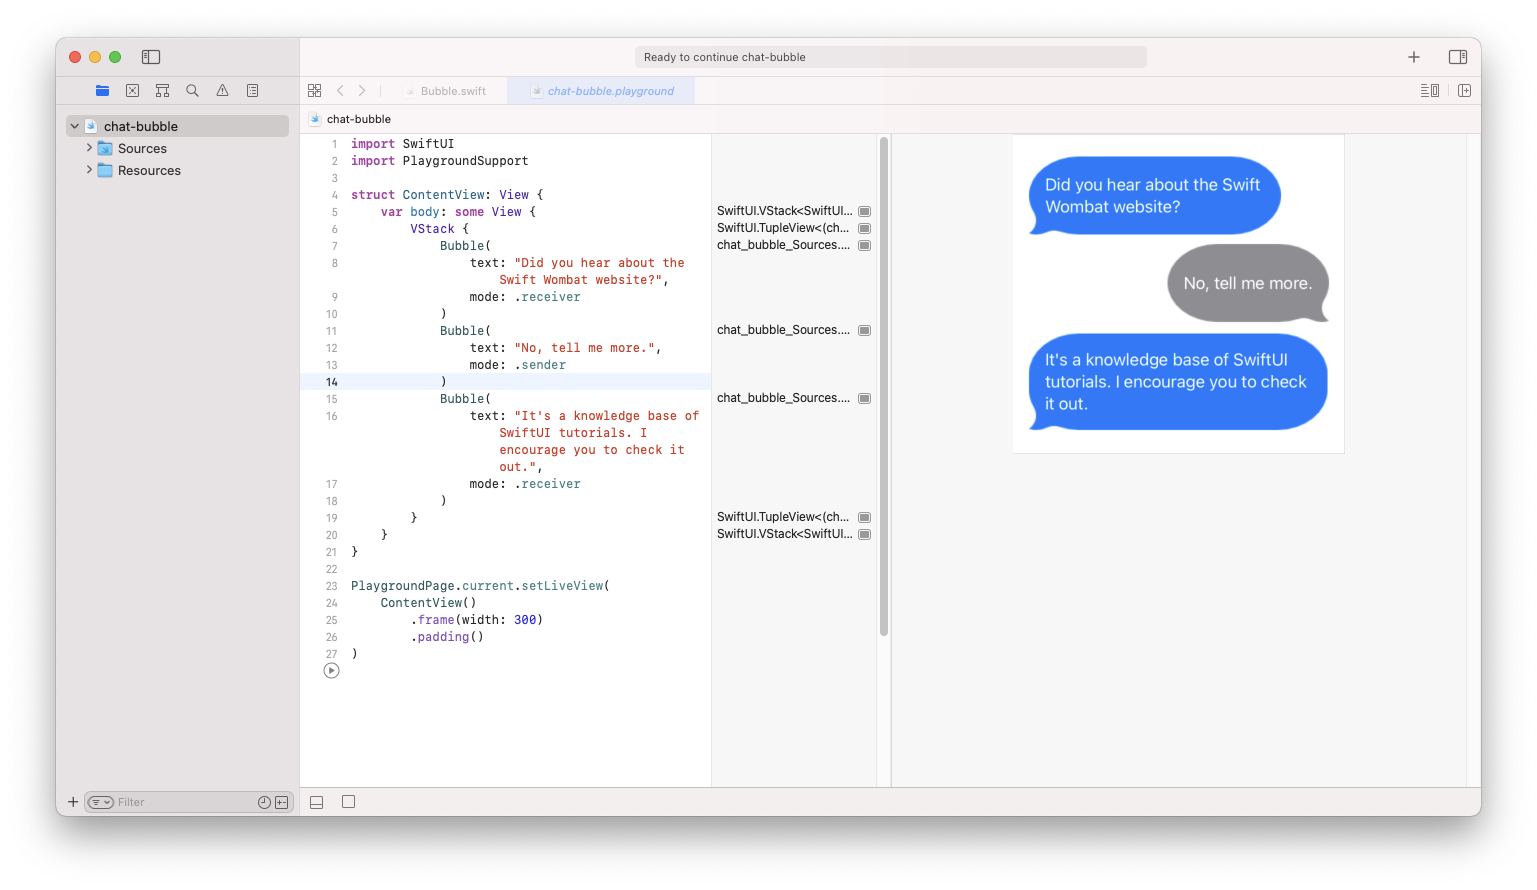
In this tutorial, you will learn how to set capInsets parameters to create the effect presented at the beginning of a page. Chat bubble functionality is not a part of this article, but if you are interested, in the end, you will find a link to Xcode Playground, where you can check the full implementation.
The full resizable function declaration looks like this:
public func resizable(capInsets: EdgeInsets = EdgeInsets(), resizingMode: Image.ResizingMode = .stretch) -> Image
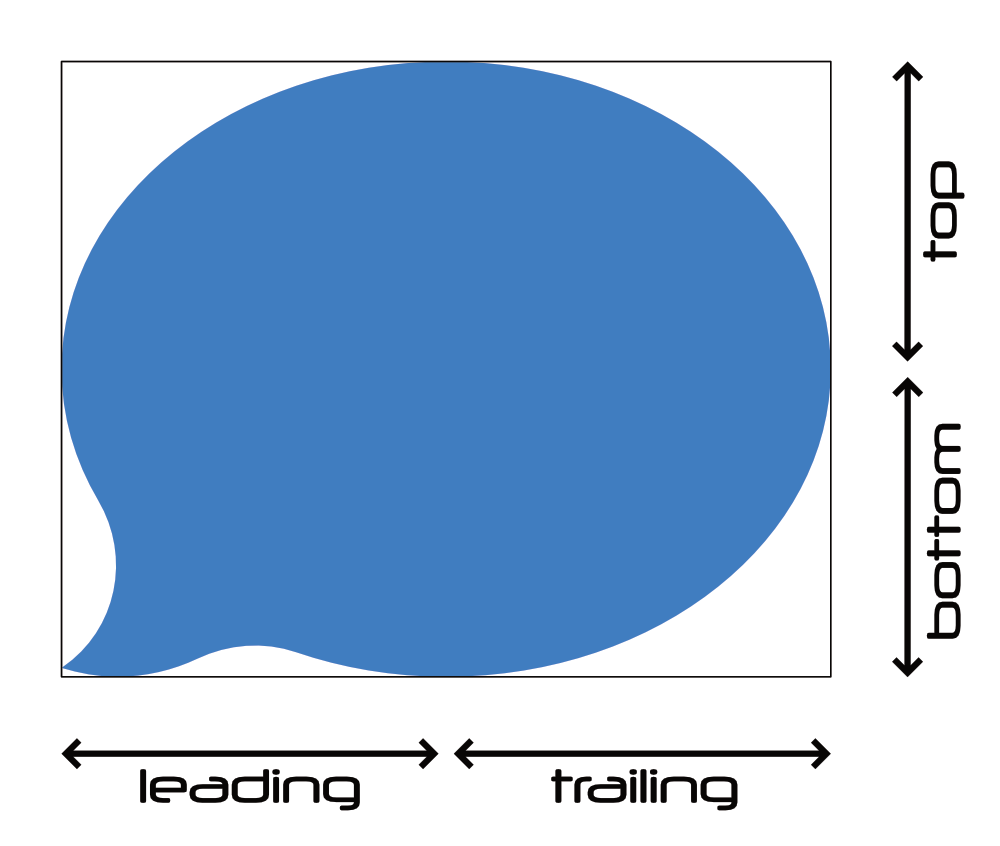
As you can see, both parameters have default values, and in most cases, you will be using a version without any of them. But capInsets, which takes EdgeInsets struct, controls which part of the file will not be stretched when your image will try to adjust to a given size. Look at the image below:

In that example, parts of the image under leading, trailing, top, and bottom should not be stretched and always keep the same size. Only small spaces between top and bottom and leading and trailing arrows should extend to fit text within it. Assuming that the whole bubble image has a size 100x80, you can set EdgeInsets properties as follows:
Image("bubble")
    .resizable(
        capInsets: EdgeInsets(
            top: 39,
            leading: 49,
            bottom: 39,
            trailing: 49
        )
    )
Most of the file will stay intact, and you will resize only two pixels (100-49-49) in width and two pixels (80-39-39) in height to fill the text content of the chat bubble.
The capInsets parameter can work with scaledToFill and scaledToFit modifiers, but since the chat bubble should extend itself independently in any direction, you don’t need them here.
