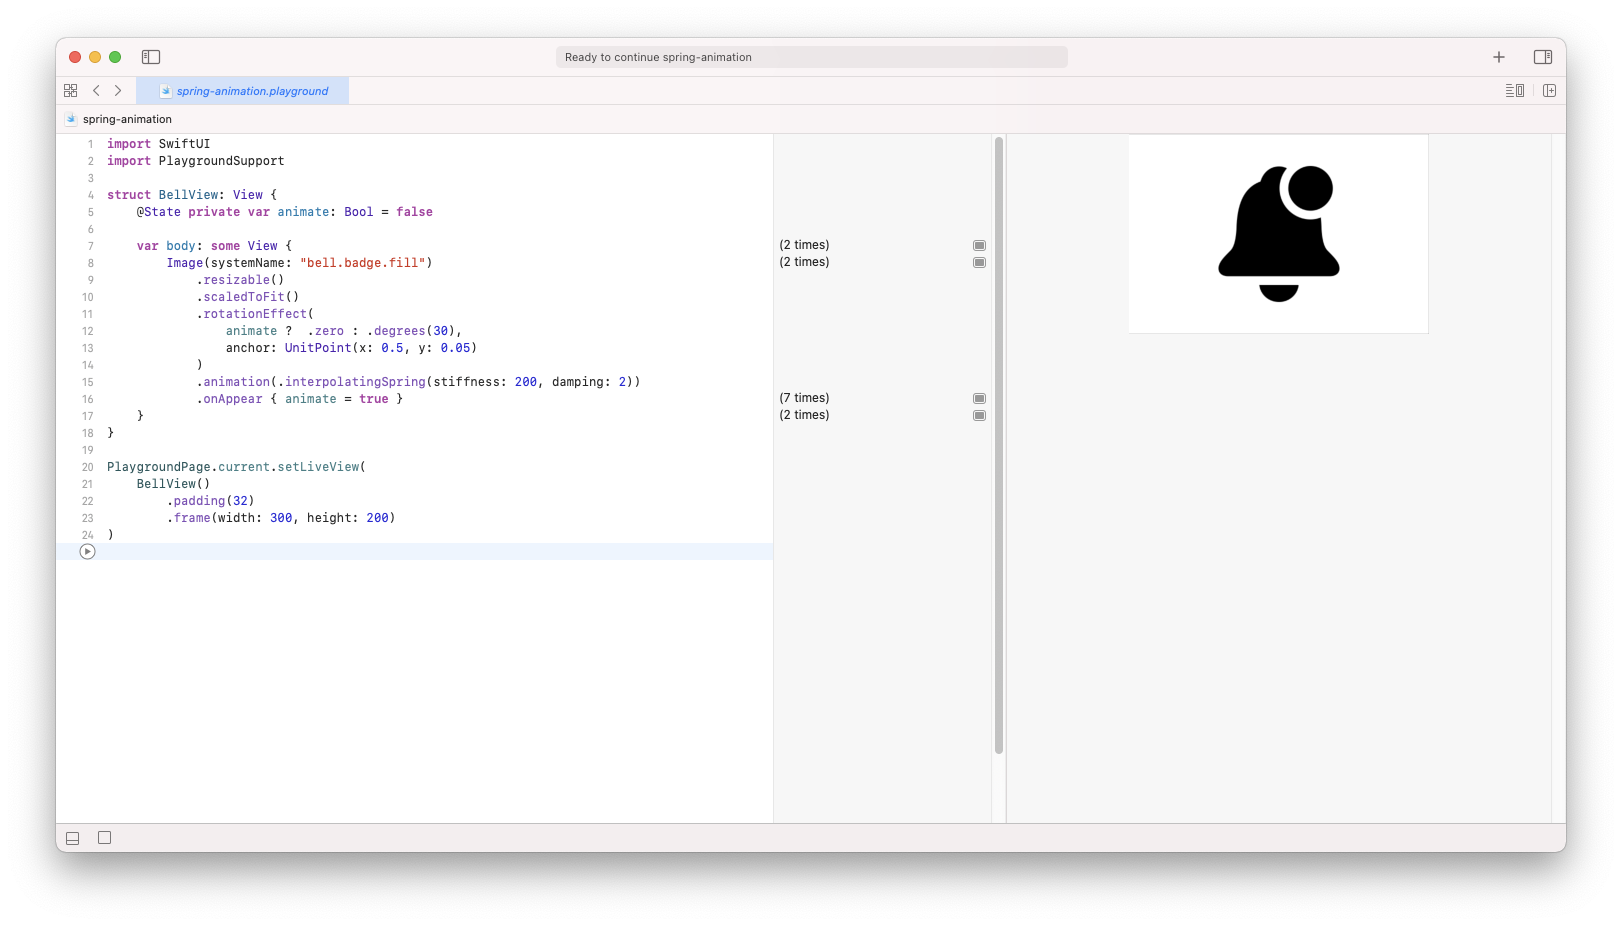

SwiftUI offers a very convenient way to display simple value-based animation. By adding an animation modifier, you can tell that you want to animate other modifier value changes. Additionally, with SwiftUI, you get many Animations like easeIn, easeOut, or linear. There are also Animations that emulates physical spring behavior: spring, interactiveSpring, and interpolatingSpring. This article will show you how to use the last one to animate a bell from SF Symbols like in the GIF above.
struct BellView: View {
    @State private var animate: Bool = false

    var body: some View {
        Image(systemName: "bell.badge.fill")
            .resizable()
            .scaledToFit()
            .rotationEffect(
                animate ? .zero : .degrees(30),
                anchor: UnitPoint(x: 0.5, y: 0.05)
            )
            .animation(.interpolatingSpring(stiffness: 200, damping: 2))
            .onAppear { animate = true }
    }
}
To achieve that animation, you have to use a rotationEffect modifier. This function expects two parameters. First is a rotation Angle. You can use the provided static functions to create Angle from degrees or radians. The second parameter is optional, but it allows for modification of the rotation anchor. Values provided above will set your rotation point to half of the width (0.5 * width) and just below the top (0.05 * height) of the Image.
Next, you have to inform SwiftUI that you want to animate that view. You can do this using the animation modifier, which expects an Animation object. To get that spring-like animation, you have to use interpolatingSpring animation. You can control the mass, stiffness, damping, and initialVelocity of an animated property. Fine-tuning these values is usually a long trial and error. Xcode Playground is very useful for that work.
To trigger the animation, you have to modify the value already seen in the SwiftUI views tree. To achieve this, you can use the State property and onAppear function. That way, you will be sure that the animation will start when a given view is visible. In the example above, I control rotationEffect angle by animate property: animate ? .zero : .degrees(30). It starts from thirty degrees and goes to zero when a view appears.